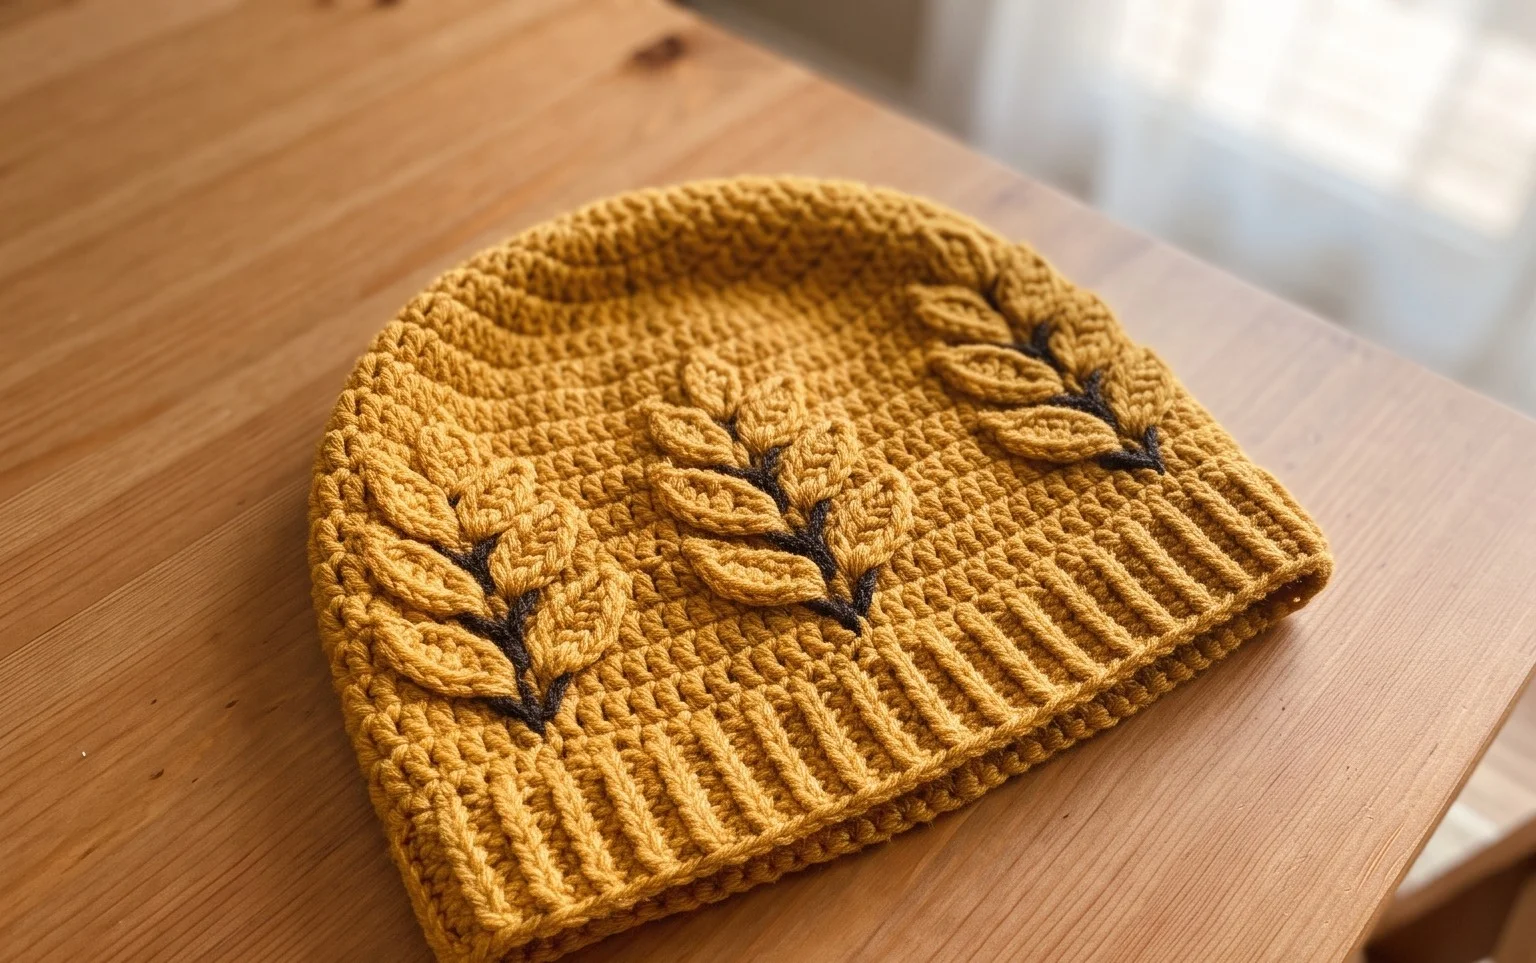
Hello, fellow yarn lovers! Are you ready to add a touch of nature’s beauty to your wardrobe or surprise someone special with a handmade treasure? Today, we’re diving into the delightful world of crochet with our Free 3D Leaf Stitch Beanie Hat Patterns and Video! Imagine a cozy, beautifully textured beanie, adorned with intricate, raised leaf motifs that practically leap off the yarn. It’s a piece that whispers of autumn walks and cozy evenings.
This project is absolutely perfect for crocheters of all levels! Our step-by-step video tutorial makes it a breeze for beginners to master the unique 3D leaf stitch, while experienced crafters will appreciate the satisfying rhythm of creating such a stunning piece. Whether you’re looking for a charming gift that’s both thoughtful and stylish, or simply want to craft a piece of wearable art for yourself, this beanie is sure to impress. Get ready to learn a versatile new stitch and create something truly magical!
Crochet Your Way to a Gorgeous 3D Leaf Stitch Beanie
Are you ready to add a touch of botanical beauty to your winter wardrobe? This crochet 3D Leaf Stitch Beanie pattern is an absolute delight to make, and even more stunning to wear! The intricate texture created by the 3D leaf stitch gives the beanie a unique, eye-catching dimension that’s perfect for adding a pop of natural elegance to any outfit. Whether you’re a seasoned crocheter looking for a new textured challenge or a determined beginner eager to learn a beautiful new technique, this pattern is designed to be accessible and incredibly rewarding.
The magic of this beanie lies in its striking stitch pattern, which mimics delicate leaves unfurling. It creates a fabric that’s both flexible and warm, making it an ideal choice for a cozy hat. Let’s dive into everything you need to know to bring this beautiful project to life!
Choosing Your Yarn and Hook: The Foundation of Your Beanie
The right yarn and hook are crucial for achieving the best look and feel for your 3D Leaf Stitch Beanie. The stitch pattern can be yarn-hungry, so choosing wisely will make a big difference.
- Yarn Recommendation: For this pattern, a medium-weight yarn (often labeled as Worsted or Aran) is generally recommended. This weight provides a good balance of drape and structure, allowing the 3D leaf stitches to pop without the fabric becoming too stiff or too loose. Acrylic yarns are a fantastic and budget-friendly choice, offering a wide range of colors and being easy to care for. For a warmer, more luxurious feel, consider a wool blend. If you’re sensitive to wool, a superwash merino or a soft acrylic can be excellent alternatives. Look for yarns that have good stitch definition so your beautiful leaves stand out.
- Hook Size: The recommended hook size will typically be around a 5.0mm (H-8) or 5.5mm (I-9). However, this can vary slightly depending on your personal tension and the specific yarn you choose. It’s always a good idea to make a small swatch with your chosen yarn and hook before you begin the main hat. This swatch will help you determine if your fabric is too stiff or too loose. If it’s too stiff, try a larger hook. If it’s too loose and you can see through the stitches, try a smaller hook.
Mastering the Stitches: Your Guide to the 3D Leaf Stitch
The heart of this beanie is, of course, the captivating 3D leaf stitch. While it looks impressive, it’s built upon a few fundamental crochet techniques that are accessible to ambitious beginners.
- Basic Stitches: You’ll primarily be working with basic stitches like the chain (ch), slip stitch (sl st), single crochet (sc), and double crochet (dc). These are the building blocks of most crochet projects and are essential to learn for this pattern.
- The Star of the Show: The 3D Leaf Stitch: This stitch is often created by working a series of stitches around a post stitch (typically a double crochet or treble crochet) from a previous row. The exact construction can vary, but it usually involves creating little “petals” or “leaves” that stand out from the fabric. The video tutorial that accompanies this free pattern will be your best friend here, demonstrating the exact placement and creation of these stitches step-by-step. Pay close attention to how the yarn is wrapped and where the hook is inserted to achieve that beautiful three-dimensional effect.
- Post Stitches: Understanding how to work stitches around the posts of stitches from a previous row is key to creating the raised texture. Front post double crochets (fpdc) and back post double crochets (bpdc) are common techniques used to build definition.
Tips for Beginners: Navigating Your First 3D Leaf Beanie
Embarking on a project with a more complex stitch can feel daunting, but with a few insider tips, you’ll be crocheting your 3D leaf beanie with confidence!
- Watch the Video Thoroughly: The video tutorial is invaluable for this pattern. Watch it once through before you start, and then keep it handy to pause and replay as you work through the leaf stitch sections. Seeing the stitch being made is often much clearer than reading written instructions for intricate stitches.
- Practice the Leaf Stitch First: Before you cast on for the beanie itself, dedicate some time to practicing just the 3D leaf stitch. Make a small swatch, focusing solely on mastering that particular stitch. Once you feel comfortable, you can confidently apply it to your hat.
- Keep Your Tension Consistent: This is crucial for any crochet project, but especially for textured stitches. Try to maintain an even tension throughout your work to ensure your leaves look uniform and the fabric has a nice drape.
- Use Stitch Markers: Stitch markers are your best friends for keeping track of your place, especially in rounds. They are particularly helpful for marking the beginning of rounds and any specific stitch counts.
- Don’t Be Afraid to Unravel: We all make mistakes! If something doesn’t look right, take a deep breath and gently unravel your work. It’s much easier to fix a few stitches than a whole section that’s gone wrong.
Customizing Your Beanie: Make It Uniquely Yours
One of the joys of crochet is the ability to personalize your creations. This 3D Leaf Stitch Beanie is wonderfully adaptable!
- Color Choices: The possibilities are endless!
- Solid Color: A single, beautiful color will let the intricate leaf texture truly shine. Jewel tones, earthy neutrals, or vibrant brights all work wonderfully.
- Two-Tone: Consider alternating the main hat body color with the color used for the ribbing, or a contrasting color for the leaves themselves. This can create a really dynamic effect.
- Variegated or Self-Striping Yarns: These can add incredible depth and interest without needing to change colors yourself. Choose a yarn where the color transitions complement the stitch pattern.
- Size Adjustments: Most beanies are worked from the top down or the brim up in rounds. This pattern likely involves working in the round, and you can adjust the size by:
- Adding or Subtracting Rounds: For a taller or shorter beanie, simply add or remove a few rounds of the main stitch pattern before you start decreasing for the crown.
- Changing the Brim: The ribbing at the brim is often created using rows of front and back post stitches, which can be easily made wider or narrower. You can also adjust the number of rounds in the ribbing to change its height.
- Adding Embellishments:
- Pom-Pom: A fluffy pom-pom on top is a classic and always stylish addition. You can make one from yarn or use a faux fur pom-pom for extra flair.
- Buttons or Appliqués: A small decorative button or a crocheted flower appliqué could be added to the side of the beanie for a unique touch.
Caring for Your Crochet Creation: Keeping Your Beanie Beautiful
Once your stunning 3D Leaf Stitch Beanie is complete, you’ll want to keep it looking its best for years to come.
- Washing: For acrylic or most washable wool blends, hand washing in cool water with a mild detergent is the safest bet. Gently squeeze out excess water; do not wring. If your yarn label specifies machine washing, use a gentle cycle and cool water.
- Drying: Lay your beanie flat on a clean towel, reshaping it gently. Avoid hanging it to dry, as this can stretch out the stitches. Keep it away from direct heat or sunlight.
- Blocking (Optional but Recommended): Blocking can help to even out your stitches and give your beanie a professional finish. After washing, gently shape your beanie and secure it with pins on a blocking mat or on a padded surface until dry.
Beyond the Beanie: Inspiring Project Ideas
While the 3D Leaf Stitch Beanie is a fantastic project, this beautiful stitch pattern can be used for so much more!
- Scarves and Cowls: Imagine a cozy cowl or a flowing scarf adorned with these intricate leaves. They would create a wonderfully textured and warm accessory.
- Mittens and Gloves: Adding the 3D leaf stitch to the back of mittens or the cuffs of gloves would be a sophisticated and eye-catching detail.
- Home Decor: Consider using this stitch for decorative pillow covers, placemats, or even a textured blanket. The raised stitches would add a beautiful tactile element.
- Bags and Totes: A tote bag worked in this stitch would be both stylish and durable, with the textured fabric offering a unique look.
This 3D Leaf Stitch Beanie pattern is a wonderful opportunity to expand your crochet skills and create a truly beautiful, handcrafted item. Grab your yarn, hook up that video tutorial, and get ready to crochet a piece of wearable art!
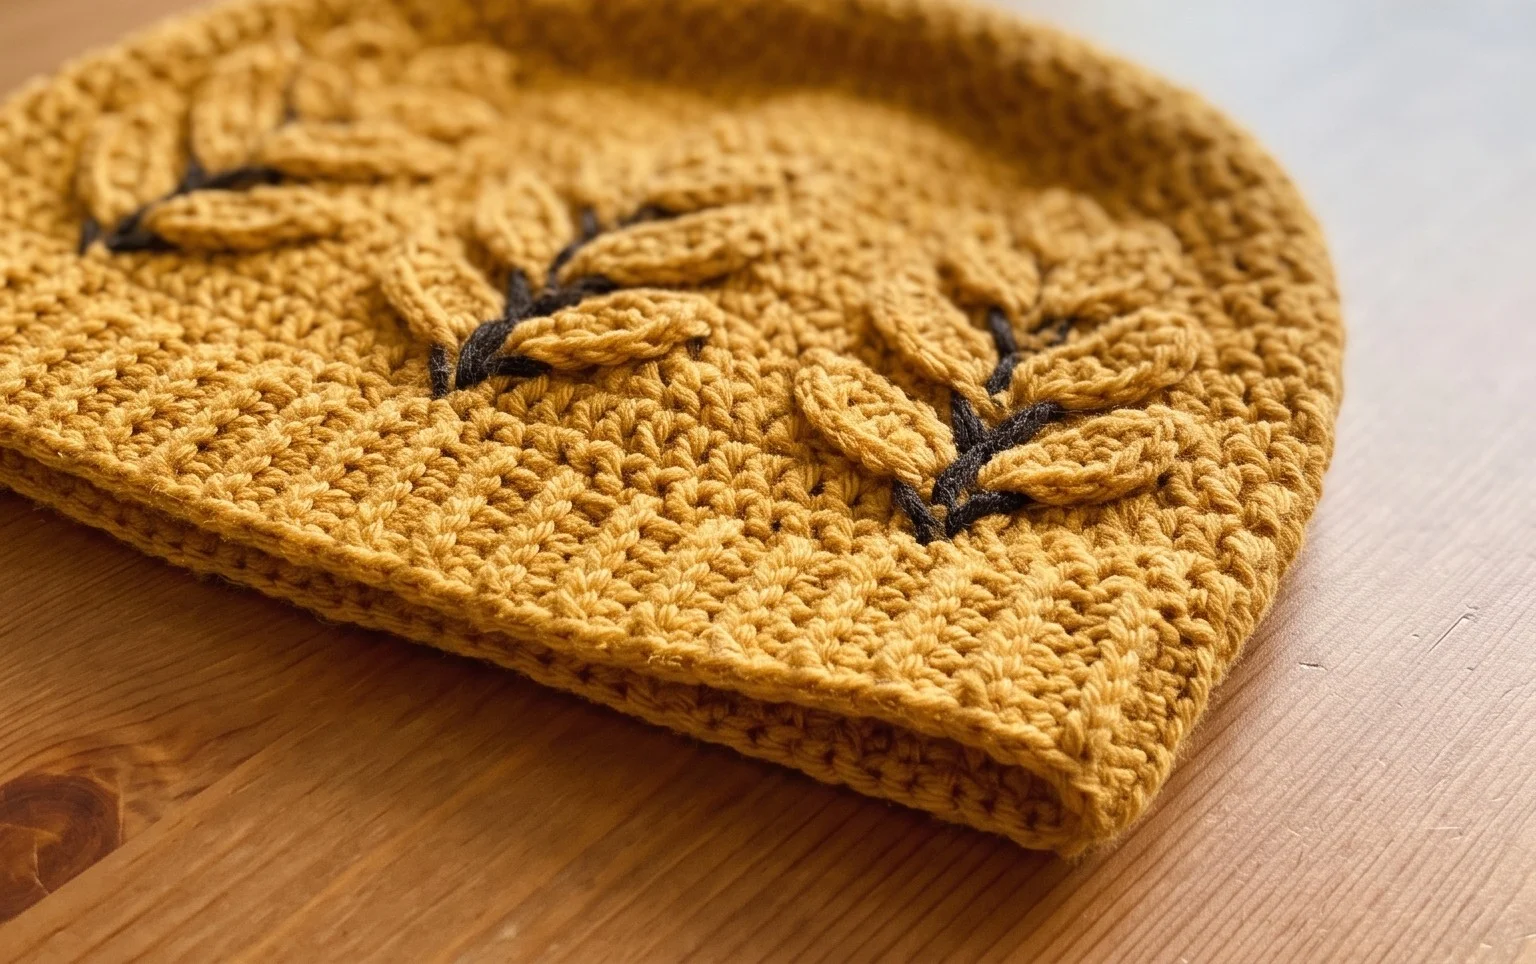
We hope this crochet 3D Leaf Stitch Beanie pattern has inspired you to create a truly special hat! Whether you’re a seasoned crocheter or just starting out, this textured stitch is incredibly rewarding and the results are simply stunning. Don’t be afraid to experiment with different yarn colors – imagine a variegated yarn for an ombre effect, or perhaps a vibrant, single color to really make those leaves pop!
We can’t wait to see your finished creations! Please share your beautiful beanies on social media using #CrochetLeafBeanie so we can all admire your handiwork. And if you loved this pattern, be sure to explore our site for even more delightful crochet projects to warm your heart and your head!