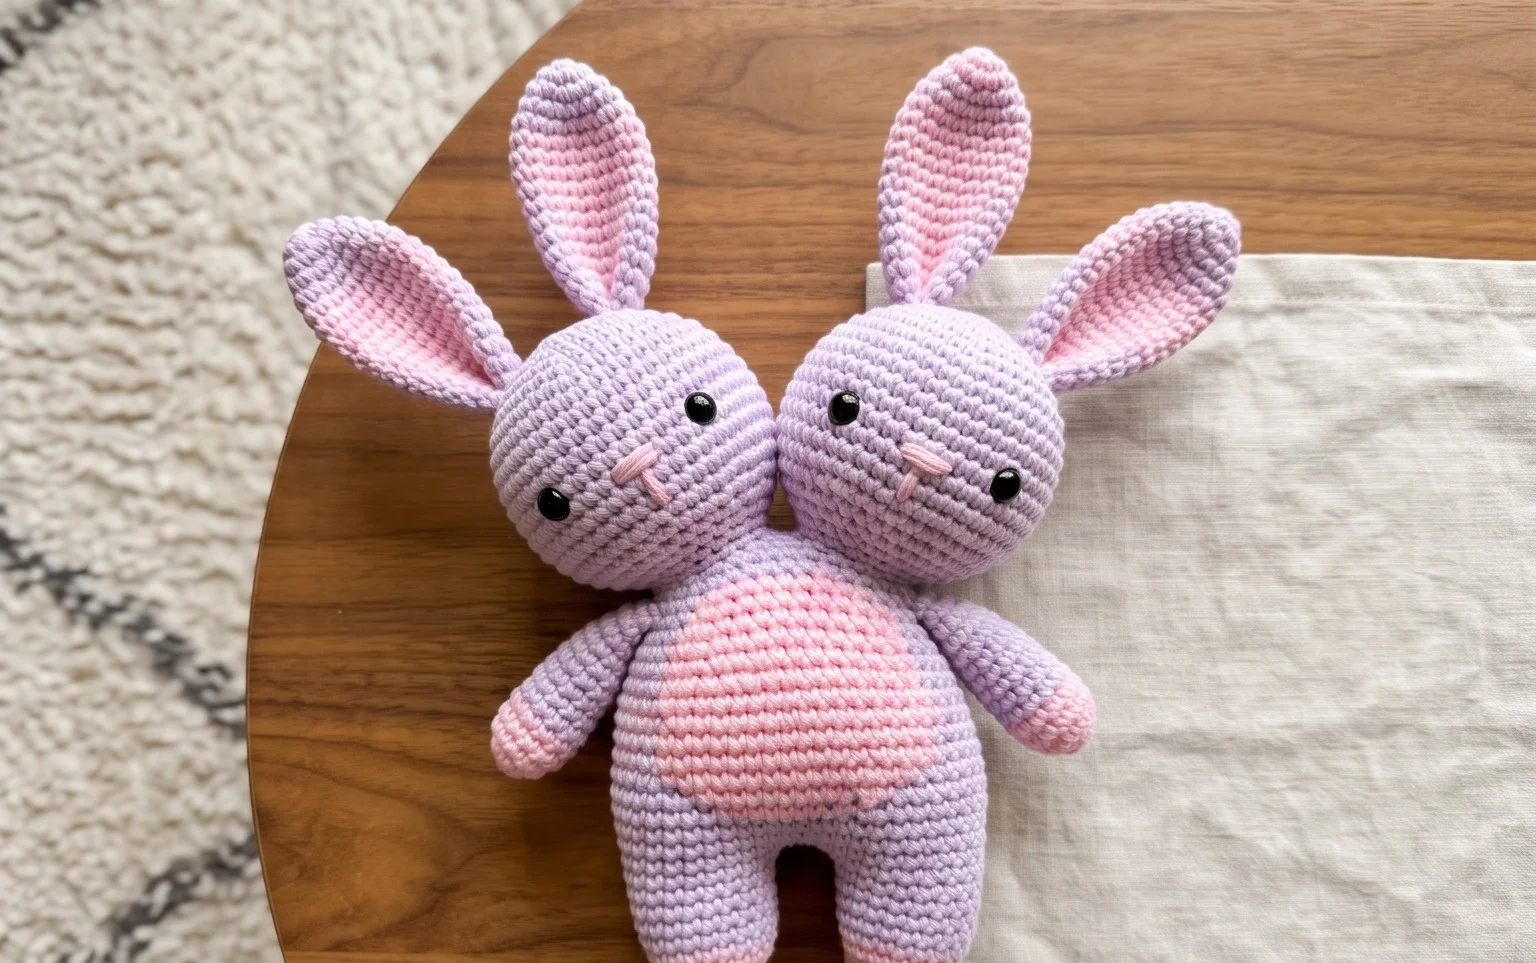
Hey there, fellow yarn lovers! Get ready to dive into a crochet project that’s as delightfully unique as it is adorable. Today, we’re talking about a truly special creation: our Two-Headed Crochet Bunny Amigurumi! Imagine two sweet, cuddly bunny heads peeking out, all stitched together in a way that’s both charmingly quirky and incredibly huggable.
But here’s the magic: this little wonder is entirely up to you! Will you choose soft pastels for an undeniably kawaii charm, or go for bolder, darker hues for a wonderfully creepy-cute vibe? This pattern is perfect for crocheters of all levels, a fantastic option for a handmade gift that’s sure to surprise and delight, or even a unique piece of home decor. We’ll guide you through each stitch, from the basic amigurumi techniques to bringing those adorable dual heads to life. Let’s get hooking and create something wonderfully weird and utterly wonderful!
## Creepy or Kawaii? This Two-Headed Crochet Bunny Amigurumi Is All About the Colors You Choose
Have you ever looked at a crochet pattern and thought, “This could go so many ways”? That’s exactly the magic behind this particular two-headed bunny amigurumi design! It’s a wonderfully versatile project that, with a simple shift in your yarn palette, can transform from adorably sweet to delightfully eerie. Whether you’re dreaming of pastel-hued fluffballs or spooky night dwellers, this little critter is ready to be whatever your crafty heart desires. Let’s dive into how you can bring this unique two-headed wonder to life!
### Yarn and Hook: The Foundation of Your Furry Friend
The yarn you choose will dramatically influence the final look and feel of your amigurumi. For this project, a smooth, medium-weight yarn is ideal. Think of a worsted weight acrylic or a cotton blend.
* **For a Kawaii Look:** Opt for bright, cheerful colors. Pastels like baby pink, sky blue, mint green, or sunny yellow are perfect. You could also go for vibrant neons or classic white with a pop of color for the ears.
* **For a Creepy Vibe:** Embrace darker, more muted tones. Think deep purples, forest greens, charcoal grey, or even black. You could also experiment with mottled yarns that create an interesting, slightly unsettling texture. Red, of course, is a fantastic accent for a touch of the macabre.
**Hook Size:** The general rule of thumb for amigurumi is to use a hook one size smaller than recommended on the yarn label. This creates tight stitches that prevent stuffing from peeking through. For most worsted weight yarns, a **3.0mm to 3.5mm crochet hook** will work beautifully.
### Stitching Up Your Two-Headed Buddy: Key Techniques
This pattern primarily relies on a few fundamental crochet stitches that are essential for amigurumi creation. Don’t worry if you’re new to some of these; they’re all incredibly learnable!
* **Magic Ring (or Adjustable Ring):** This is the cornerstone of most amigurumi projects. It creates a perfectly tight, adjustable starting circle with no holes, ensuring your stuffing stays put. There are plenty of video tutorials available online that can demonstrate this technique visually.
* **Single Crochet (sc):** This is your workhorse stitch! It’s a dense stitch that builds the structure of your amigurumi.
* **Increase (inc):** This is made by working two single crochets into the same stitch. It’s how you gradually widen your pieces, like the head or the body.
* **Decrease (dec):** This is made by working two single crochets together as one. This is crucial for shaping and closing off your amigurumi pieces. The most common amigurumi decrease is the “invisible decrease,” which looks much neater than a standard decrease.
* **Slip Stitch (sl st):** Used for joining rounds and sometimes for finishing off.
* **Chain (ch):** Used to start rows or create decorative elements.
### Tips for Beginner Amigurumi Artists
Embarking on your first amigurumi project can feel daunting, but with a few helpful tips, you’ll be crocheting adorable creatures in no time!
* **Count Your Stitches:** This is perhaps the most important advice for amigurumi. At the end of each round, count your stitches to ensure you haven’t missed any or accidentally added too many. This will prevent your pieces from becoming distorted.
* **Use a Stitch Marker:** Always place a stitch marker in the first stitch of each round. Amigurumi is worked in continuous rounds, so it’s easy to lose your place without one.
* **Stuffing is Key:** Don’t be afraid to stuff your amigurumi firmly. This gives it shape and prevents it from looking saggy. Stuff as you go, adding small amounts at a time, especially in intricate areas like the ears or nose.
* **Don’t Pull Your Yarn Too Tight:** While you want tight stitches, yanking your yarn excessively can make it difficult to crochet and can even break your yarn. Aim for consistent tension.
* **Read Through the Pattern First:** Before you even pick up your hook, read the entire pattern from start to finish. This will give you a good overview of the process and identify any parts you might need extra clarification on.
* **Watch Video Tutorials:** For any stitch or technique you’re unsure about (like the magic ring or invisible decrease), a quick YouTube search will provide countless helpful videos. Seeing it done is often much easier than reading instructions.
### Customization: Making It Uniquely Yours
The beauty of this two-headed bunny is its potential for endless customization. Let’s explore how you can make it truly your own.
#### Color Combinations
* **Head-to-Head Contrast:** Give each head a distinct personality. Imagine one in a soft lilac and the other in a deep emerald. The ears can match the body, or be a contrasting color to each head.
* **Body as a Bridge:** The body can be a neutral color like cream or grey to tie the two heads together, or it can be a bold, vibrant color that acts as a statement piece.
* **Ears with Flair:** Don’t forget the ears! You can make them the same color as the heads, a contrasting color, or even use a variegated yarn for a fun, multi-tonal effect. For a creepy look, consider black or deep red ears. For kawaii, think of polka dots or stripes on the ears if you’re feeling adventurous!
* **Subtle Accents:** Even small touches can make a difference. A different colored nose, embroidered eyes (see below), or a tiny bow can elevate the design.
#### Size Matters
This pattern can easily be adapted for different sizes.
* **Smaller Version:** Use a lighter weight yarn (like sport or DK weight) and a smaller hook (around 2.0mm – 2.5mm). The overall dimensions will shrink, creating a miniature version of your bunny.
* **Larger Version:** Opt for a chunkier yarn (like bulky or super bulky weight) and a larger hook (4.0mm – 5.5mm). This will result in a significantly larger and more huggable bunny. Be prepared for the stuffing to go much faster!
### Caring for Your Crochet Creation
Once your adorable (or spooky!) bunny is finished, you’ll want to keep it looking its best.
* **Washing:** Handwashing is the gentlest method. Use cool water with a mild detergent. Gently swish the amigurumi around, avoiding harsh scrubbing.
* **Rinsing:** Rinse thoroughly with cool water until all soap residue is gone.
* **Drying:** Do NOT put your amigurumi in the dryer! Gently squeeze out excess water, being careful not to wring or stretch the yarn. Roll it in a clean, dry towel to absorb more moisture. Reshape the amigurumi and lay it flat on a dry surface or a drying rack to air dry completely. This might take a day or two, depending on humidity.
* **Spot Cleaning:** For minor stains, you can try spot cleaning with a damp cloth and a tiny bit of mild soap. Test on an inconspicuous area first.
### Project Ideas: Beyond Just a Toy
This two-headed bunny is more than just a cuddly toy! Its unique design opens up a world of creative possibilities.
* **Halloween Decor:** Go all out with dark colors, embroidered fangs, or even tiny crochet spiderwebs to create a truly spooky centerpiece.
* **Themed Gifts:** Make a pastel version for a baby shower, a rainbow version for a birthday, or a sophisticated monochromatic version for a design-conscious friend.
* **Desk Buddy:** A smaller, firmer stuffed version can make a quirky and charming desk companion.
* **Costume Prop:** Imagine this as part of a whimsical costume! The two heads could represent different aspects of a character.
* **Amigurumi Assemblage:** Use this as a base to create more complex creatures. Add wings, tails, or other appendages to invent entirely new beings.
* **Keychains or Bag Charms:** Make a mini version by using fine weight yarn and a very small hook. Add a keychain ring to the top.
Whether you lean towards the whimsical and cute or the delightfully dark and mysterious, this two-headed crochet bunny pattern offers a fantastic opportunity to play with color and express your unique style. Happy crocheting!
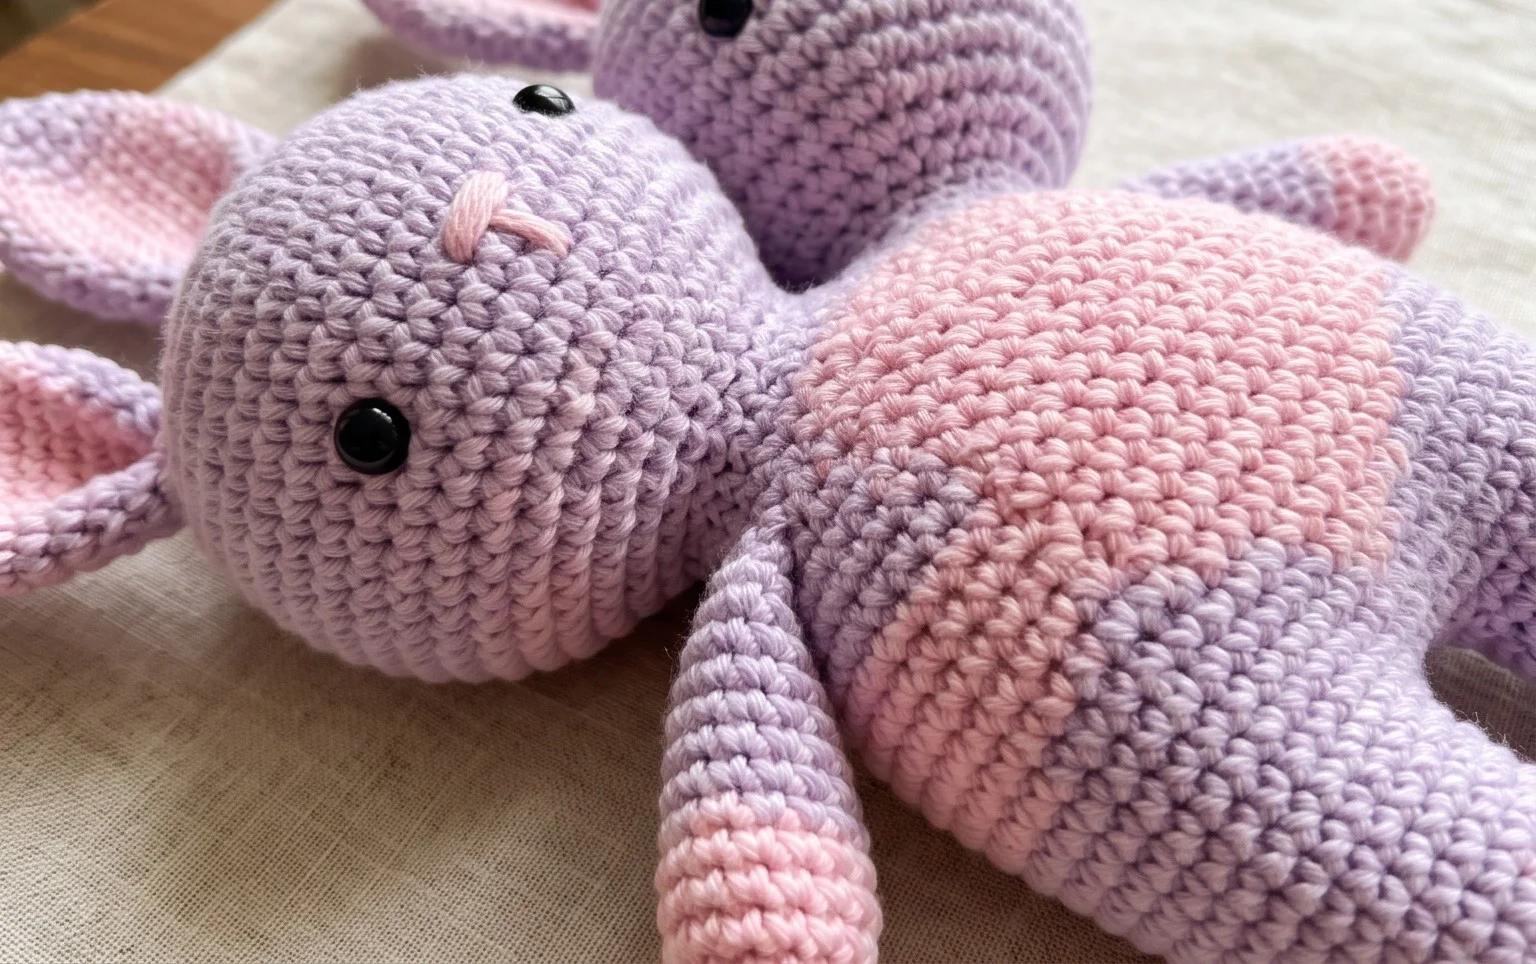
So there you have it – your very own two-headed crochet bunny amigurumi! Whether you opt for vibrant, playful hues or more muted, spooky shades, this pattern truly comes alive with your personal touch. We can’t wait to see what color combinations you dream up! Don’t forget to share your delightful (or frightful!) creations with us on social media using #TwoHeadedBunnyCrochet – we love seeing your handmade treasures.
Feeling adventurous? Try adding a tiny bowtie, a miniature witch hat, or even different ear shapes! The possibilities are as endless as your imagination. And if you’ve enjoyed bringing this unique bunny to life, be sure to explore our other crochet patterns for more delightful projects to stitch.